This module addresses the correct means for objecting to a claim.
STEP 1 From the Main Menu, select Bankruptcy (See Figure 1.)
Figure 1
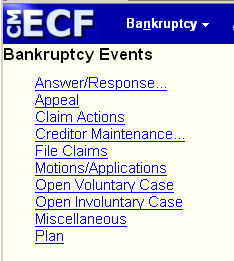
STEP 2 From the Bankruptcy Events menu, select Motions/Applications (See Figure 2.)
Figure 2
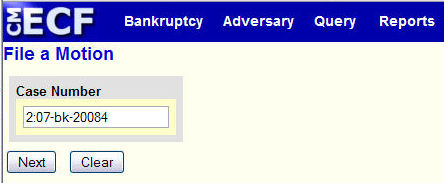
STEP 3 The Case Number screen appears. (See Figure 3.)
Figure 3
-
If the box is blank, enter the correct case number.
(The case number is entered in regular format: YY-NNNNN : 07-20084)
-
If the box displays a case number, if not the correct case number, then enter the correct case number.
- Click on the [Next] button to continue.
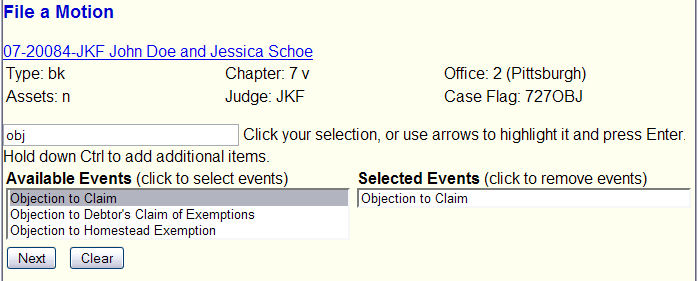
STEP 4 The Select Event screen appears. (See Figure 4.)
Figure 4
-
Verify that you are in the correct case by checking the case number and case name towards the top.
-
If wrong case, use the Browser's BACK button to return to the Case Number prompt screen.
-
The cursor is blinking in the upper-left box: the search box. Type in "obj" and the system will narrow the list of Available Events to those events containing that character string.
-
Click on the "Objection to Claim" entry to add it to the Selected Events box.
- Click on the [Next] button to continue.
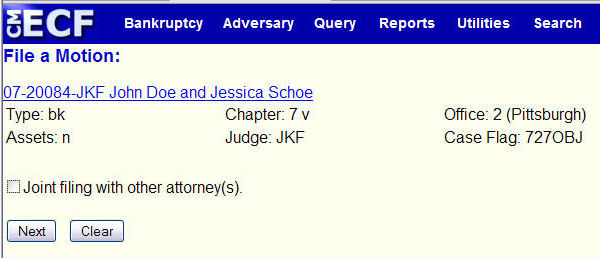
STEP 5 The Joint filing with other attorney(s) screen will display. (See Figure 5.)
Figure 5
-
Do not select any additional attorneys.
-
Click on the [Next] button to continue.
STEP 6 The Select the Party screen will display. (See Figure 6.)
Figure 6.
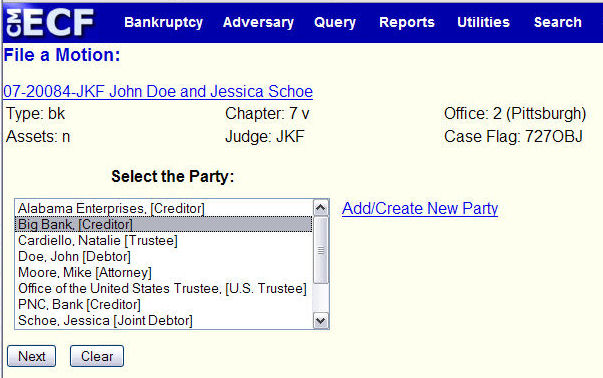
-
If your client is on the Party list, select them. If not, add them.
(See the Create New Party Process routine for details.)
Note: On the Party Information screen in the Create process, select "Creditor" in the Role field.
-
Now that your client is on the list, select them.
- Click the [Next] button to continue.
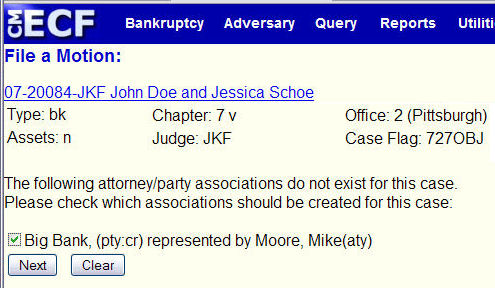
Note: If you added your client to the party list, or if your client was on the list because they were added by another attorney on another filing, you will get the Attorney/Party Association screen. (See Figure 6a.)
Figure 6a.You should always check any of the boxes displayed on this screen.
Then click the Next button to continue.
STEP 7 The Select the pdf document screen will then display. (See Figure 7.)
Figure 7.
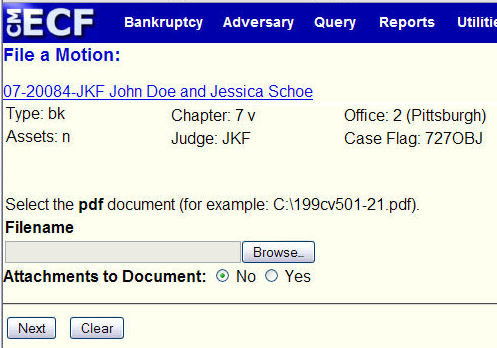
-
See the Browse Process to identify the file containing your Objection to Claim.
-
If you have additional pdf files to complete this filing, change Attachments to Document to Yes.
(See the Attachment Process for details on attaching files.)
-
Click on the Next button to continue.
STEP 8 The Prompt announcing the need to enhance the docket is displayed. (See Figure 8.)
Figure 8.
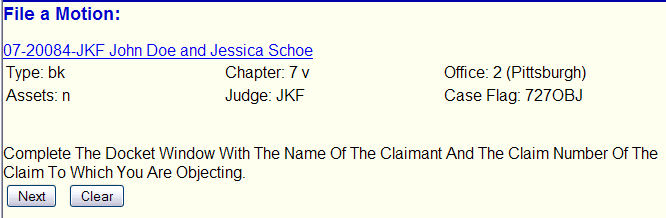
-
This screen highlights the need to make entries on the next screen - those being the name of the claimant and the claim number.
-
Click on the Next button to continue.
STEP 9 The Modify Docket Text screen is displayed. (See Figure 9.)
Figure 9.
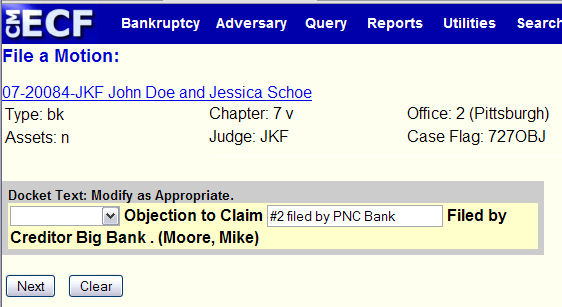
-
Enter the claimant and the claim number to which you are objecting.
- Click on the Next button to continue.
STEP 10 The Final Docket Text screen is displayed. (See Figure 10.)
Figure 10.
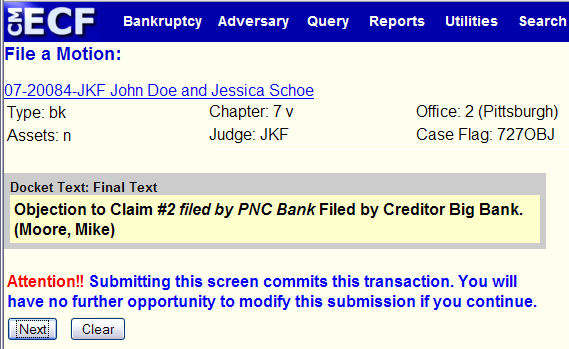
-
Verify that all information is complete and correct. If something is missing or
incorrect, use your Browser's BACK button to return to the appropriate screen(s)
to add and/or correct data.
-
Click on the Next button to continue.
STEP 11 The Notice of Electronic Filing is displayed. (See Figure 11.)
Figure 11.
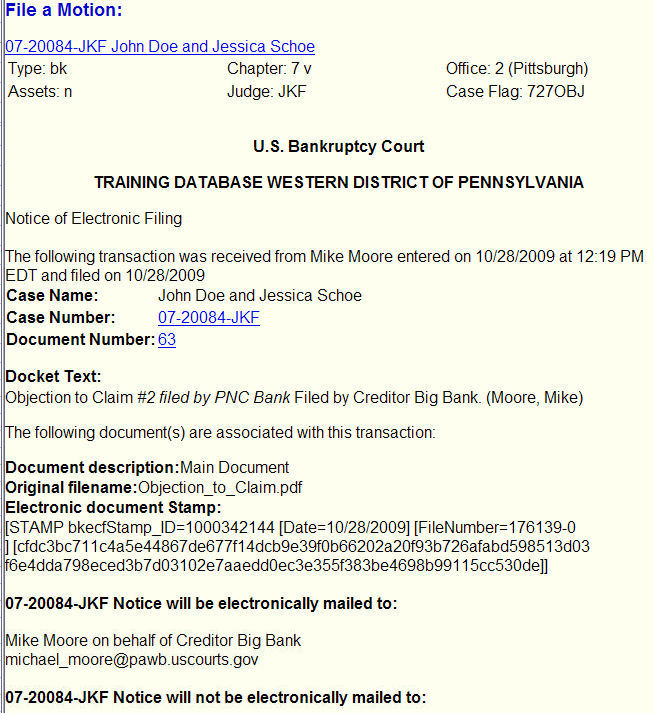
-
The screen verifies that the Objection to Claim has been uploaded and filed.
-
To print a copy of this notice, click the browser [Print] button or icon.
- To save a copy of this notice, click [File] on the browser menu bar and select Save Frame As.
Return to the Topics in Alphabetical Order page.