STEP 1 Click on the Adversary hyperlink on the CM/ECF Main Menu Bar. (See Figure 1.)
![]()
Figure 1
STEP 2 The Adversary Events menu displays. (See Figure 2.)
Figure 2
- Click on the Answers... hyperlink/choice.
STEP 3 The Answers screen then lists two options. (See Figure 3.)
Figure 3
-
Motions/Applications, refers to documents filed in response to a motion or application within the Adversary.
-
Complaint, 3rd, cross, counter refers to documents referencing the actual complaint, third-party complaint, cross-claim, or counterclaim.
- Click on Complaint, 3rd, cross, counter to continue.
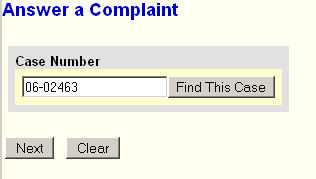
STEP 4 The Case Number prompt screen displays. (See Figure 4.)
Figure 4
-
If a number is displayed, it would reference the previous case filed upon.
-
If the displayed case number is the correct case, leave it entered. If not, enter the correct case number in the format YY-NNNN.
- Click on the [Next] button to continue.
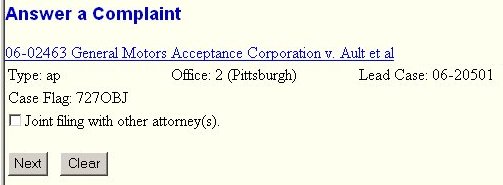
STEP 5 The Joint Filing screen appears. (See Figure 5.)
Figure 5.
-
First verify the case number and name to ensure you are in the correct case.
-
If you are filing this answer jointly with another attorney, click in the check box to indicate that.
-
For this example, leave the box unchecked.
- Click on the [Next] button to continue.
STEP 6 The Select the Party screen then displays all of the parties in the case. (See Figure 6.)
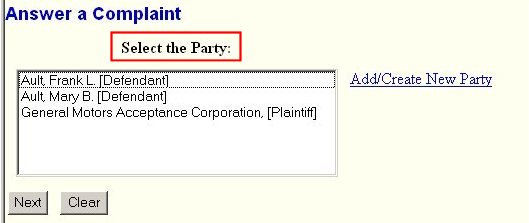
Figure 6
-
Click on the defendant's name(s).
- Click on the [Next] button to continue.
STEP 7 The Attorney/Party Association screen displays. (See Figure 7.)
Figure 7
-
Click in the checkboxes to confirm you represent the defendants.
- Click on the [Next] button to continue.
STEP 8 Identify the docket event you are answering. (See Figure 8.)
Figure 8
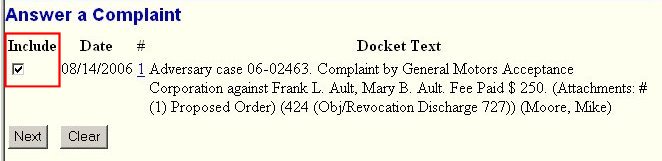
- This screen would display all answerable events.
- For this example, click in the Include box next to the complaint.
- Click on the [Next] button to continue.
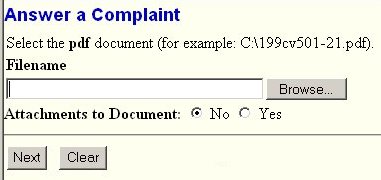
STEP 9 The Select the pdf Document screen displays next. (See Figure 9.)
Figure 9
-
See the Browse Process for details on identifying the pdf file containing the Answer (the Main Document).
- Once the main document has been identified, check the Attachments to Document to "Yes" if there is a Proposed Order or other Exhibits with the Complaint.
STEP 10 The Secondary Complaints screen will then be presented. (See Figure 10.)
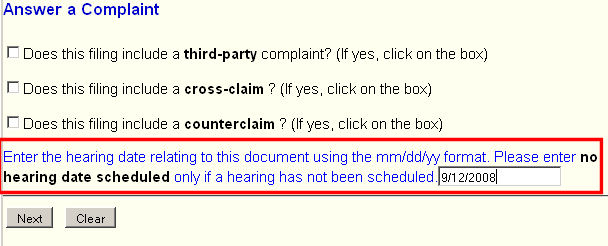
Figure 10
- If the Complaint was combined with a secondary complaint, check the appropriate box.
-
Complete the Enter the hearing date field.
If no hearing date set yet, type in "no hearing date scheduled."
-
This example includes no secondary complaint, so leave all boxes unchecked.
- Click on the [Next] button to continue.
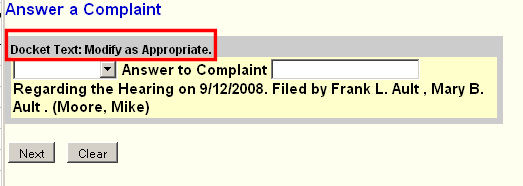
STEP 11 The Modify Docket Text screen displays. (See Figure 11.)
Figure 11
-
Verify the accuracy of the docket text. If the docket text has an error, click the browser’s [Back] button at the top of the screen one or more times to access the screen on which the error was made, and correct the error.
-
To abort or restart the transaction, click on the Adversary hyperlink on the CM/ECF Main Menu Bar. Although this can be done at any time, this is your last opportunity to change the event.
- If appropriate, select a prefix from the drop-down box and/or add text to the entry. Any text added here will appear in italics on the docket sheet.
- Click on the [Next] button to continue.
STEP 12 The Final Docket Text screen displays. (See Figure 12.)
Figure 12
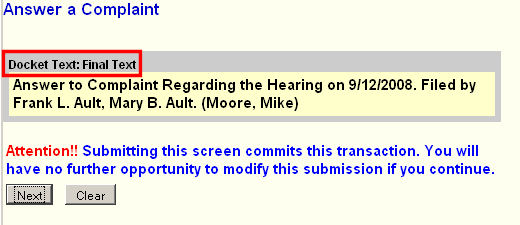
- As always, verify docket text and go BACK to correct if necessary.
- Click on the [Next] button to continue.
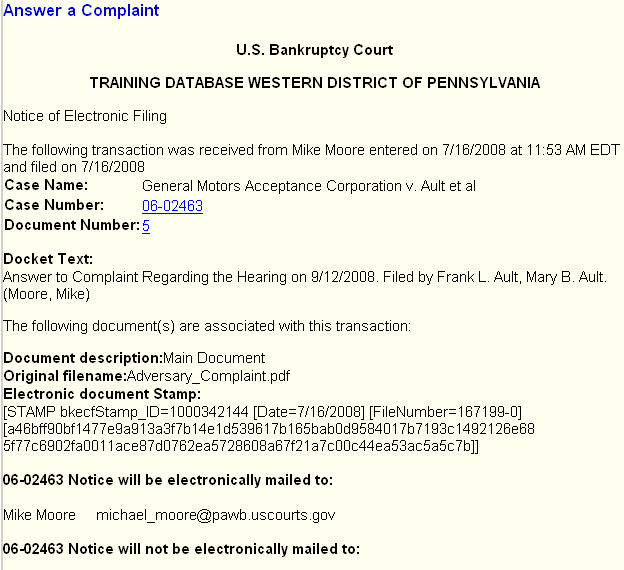
STEP 13 The Notice of Electronic Filing screen displays. (See Figure 13.)
Figure 13
-
The NEF is the verification that the filing has been sent electronically to the court’s database. It certifies that the answer has been submitted by this defendant.
-
Clicking on the case number hyperlink will display the docket report for this case.
-
Clicking on the document number hyperlink will display the PDF image of the document just filed.
-
To print a copy of this notice, click the browser [Print] icon or button.
Return to the Topics in Alphabetical Order page.