This lesson explains how to docket an objection (or a response) to a motion or application. (The example used is a response to a Motion to Avoid a Lien.)
STEP 1 Select Bankruptcy on the CM/ECF Main Menu. (See Figure 1.)
![]()
Figure 1
STEP 2 The Bankruptcy Events menu displays. (See Figure 2.)
Figure 2.
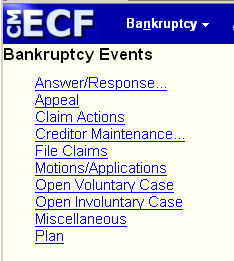
- Click the Answer/Response option on ths menu.
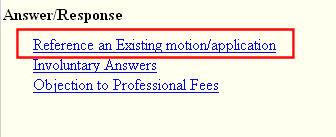
STEP 3 The Answer/Response Type screen displays. (See Figure 3.)
Figure 3
-
Click the Reference an existing motion/application option.
- Note the two other type of responses/objections available.
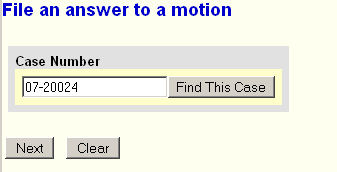
STEP 4 The Case Number Prompt screen displays (See Figure 4.)
Figure 4
-
Enter the correct case number, including the hyphen.
- Click on the [Next] button to continue.
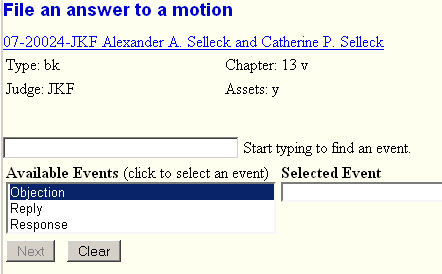
STEP 5 The Event Selection screen displays. (See Figure 5.)
Figure 5
-
Your choices are Objection, Reply or Response.
-
For this example, we select Response.
- Click on the [Next] button to continue.
The Joint filing screen then appears. (See Figure 5a.)
Figure 5a.
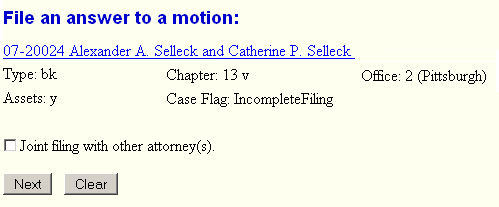
-
Check if appropriate - usually unchecked.
- Click on the [Next] button to continue.
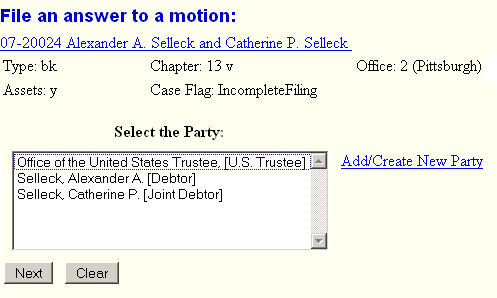
STEP 6 The Select the Party screen displays. (See Figure 6.)
(All parties who have filed electronically on the case will appear on this list.)
Figure 6.
-
Select your client(s).
-
If your client(s) not there, use Add/Create New Party link to add them.
-
In this example, select the two debtors.
- Click on the [Next] button to continue.
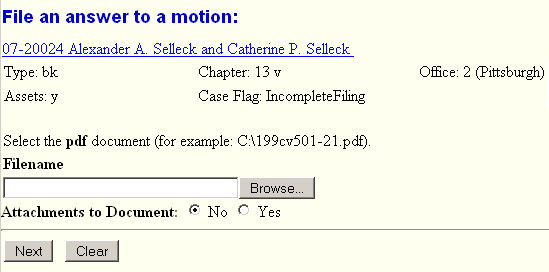
STEP 7 The Select the pdf file screen displays. (See Figure 7.)
Figure 7
-
Use the Browse button to search for the pdf file.
-
After selecting the main document, if there is an attachment, change
Attachments to Document to "Yes".
- Click on the [Next] button to continue.
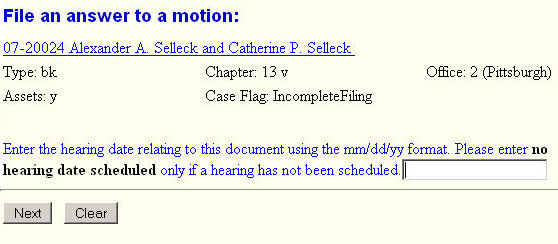
STEP 8 The Enter Hearing Date screen displays. (See Figure 8.)
Figure 8.
-
Enter the hearing date as seen on the hearing notice.
-
If no hearing date has been scheduled, enter "no hearing date scheduled."
- Click on the [Next] button to continue.
STEP 9 The Select the category... screen displays. (See Figure 9.)
Figure 9.

-
This screen acts as a filter to limit the docket items that will appear on the next screen -
with the next screen requiring us to link this answer/response to the docket entry/event that
is being answered or responded to.
-
In this example, we select "motion" in the category list - since we are responding to a
Motion for Relief from Stay.
-
You could further limit the docket items that will appear by entering Filed from-and-to dates
and/or entering from-and-to Document numbers.
- Click on the [Next] button to continue.
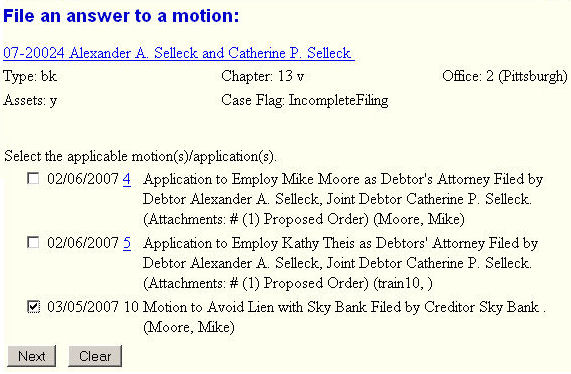
STEP 10 The Pending Motions screen displays. (See Figure 10.)
Figure 10.
-
The screen will now display all docket entries that meet the parameters entered in the
previous screen.
Note: If the event you are answering/responding to does not appear, either
you entered an incorrect category (and/or date or document range), or the event you are attempting to answer has been terminated by a hearing.You can return to the previous screen and change the parameters and try again. If the event is terminated, contact the Case Administrator monitoring your case for assistance.
-
In this example, click in the Include box next to the Motion to Avoid Lien to link our
response to the appropriate docket event.
- Click on the [Next] button to continue.
STEP 11 The Modify Docket Text screen appears. (See Figure 11.)
Figure 11.

-
Prefixes are optional - not appropriate in this example.
-
No enhancement needed.
- Click on the [Next] button to continue
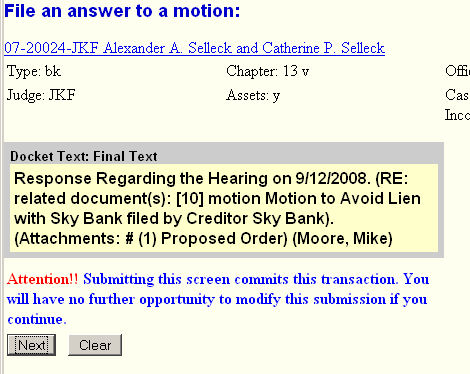
STEP 12 The Final Docket Text screen appears. (See Figure 12.)
Figure 12.
-
Use caution on this screen and proof read the contents of the carefully.
-
To abort or restart the transaction at any time, select Bankruptcy from the main menu.
- When you click [Next], the entry is sent to the court’s database.
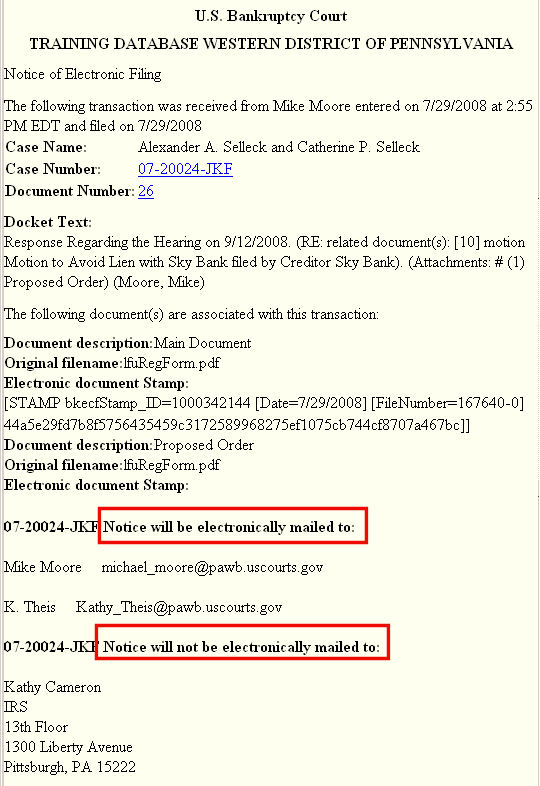
STEP 13 The Notice of Electronic Filing screen appears. (See Figure 13.)
Figure 13.
-
You should scroll down to view the entire notice.
-
Note the parties listed to receive electronic notice.
- Click the browser's [Print] button to print a copy of this notice.
Return to the Topics in Alphabetical Order page.