This procedure explains how to docket a Motion to Extend Time, in this example to complete petition, on behalf of the debtor(s) with an attached Proposed Order.
STEP 1 Click the Bankruptcy hypertext link on the CM/ECF Main Menu. (See Figure 1.)
![]()
Figure 1.
STEP 2 The Bankruptcy Events Menu will display. (See Figure 2.)
Figure 2.
- Click the Motions/Applications hyperlink.
STEP 3 The Case number prompt screen displays. (See Figure 3.)

Figure 3.
-
Enter the case number, including the hyphen.
- Click on the [Next] button to continue.
NOTE: You may use youe browser's [Back] button to verify former screens until the final submission.
STEP 4 The Document/Event selection screen displays next. (See Figure 4.)
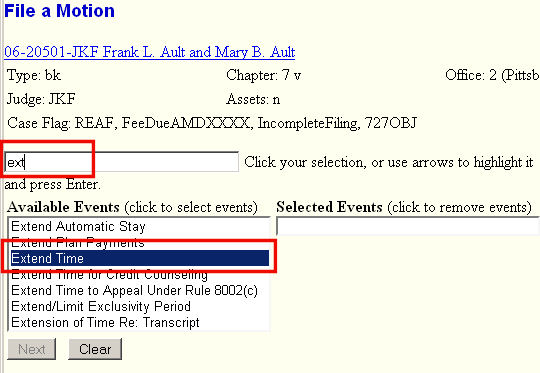
Figure 4.
Note: As always, first verify the case number and/or name to insure you are in the correct case.
- Type "ext" in the event search box so you can see the Extend Time event.
-
Click on the Extend Time event to display in the Selected Events box.
- Click on the [Next] button to continue.
STEP 5 The Joint Filing with other attorney screen displays. (See Figure 5.)
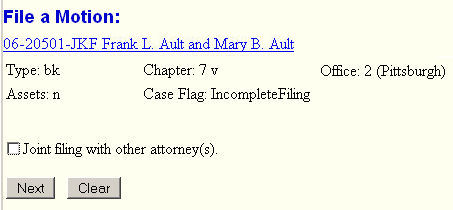
Figure 5.
-
The box would be checked only if another attorney is joining in a filing. If this were a joint filing, would be presented with a pick list of attorneys on the case to select as joint filer(s). For this example, leave un-checked.
- Click on the [Next] button to continue.
STEP 6 The Select the Party screen displays. (See Figure 6.)
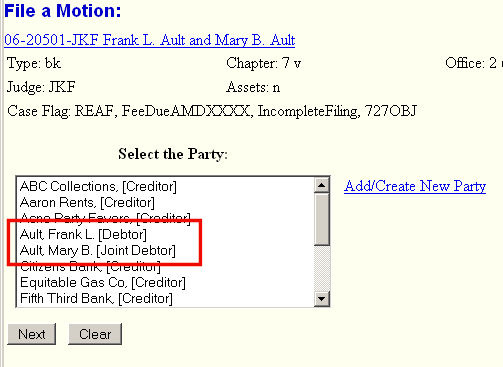
Figure 6.
-
Select the debtors as the filers of the Motion to Extend Time. Press down the Control Key (the Ctrl key) to select the second debtor in a joint case. If the motion is filed on behalf of a creditor, select accordingly.
- Click on the [Next] button to continue.
STEP 7 The Select the pdf file screen displays. (See Figure 7.)
Figure 7.

-
See the Browse Process for details on identifying the pdf file containing the motion.
- Change the Attachments to Document to Yes
- Click on the Next button to proceed to the Attachment Process.
See the Attachment Process module for details on this process.
- Once the file containing the Proposed Order is selected, click the Next button.
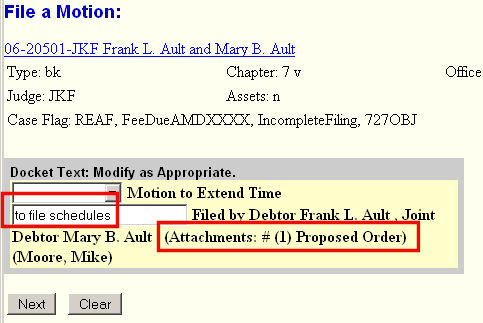
STEP 8 The Modify Docket Text screen appears. (See Figure 8.)
Figure 8.
-
If appropriate, choose a prefix such as Emergency from the Prefix list.
-
Enhance filing with a brief description of the reason(s) for the extension -
in this example, it is "to file schedules>".
-
Verify the docket references Attachments representing your Proposed Order.
- Click on the [Next] button to continue.
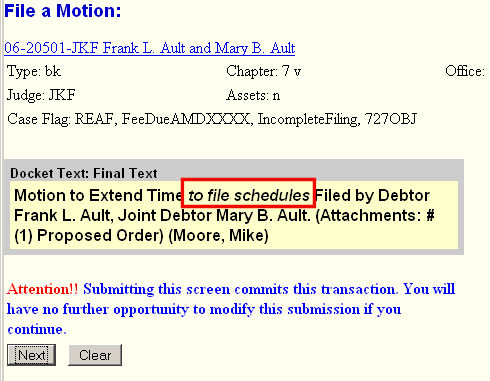
STEP 9 The Final Docket Text screen displays. (See Figure 9.)
Figure 9.
-
Carefully verify the final docket text. This is your last chance to change this entry before addition to the case.
-
Note the enhanced text now appears in italics.
-
If the docket text is incorrect, use the browser's [Back] button to find the screen to be modified.
-
To abort or restart the transaction, click the Bankruptcy hyperlink on the Menu Bar.
- Click on the [Next] button to continue.
STEP 10 The Notice of Electronic Filing (NEF) screen displays. (See Figure 10.)
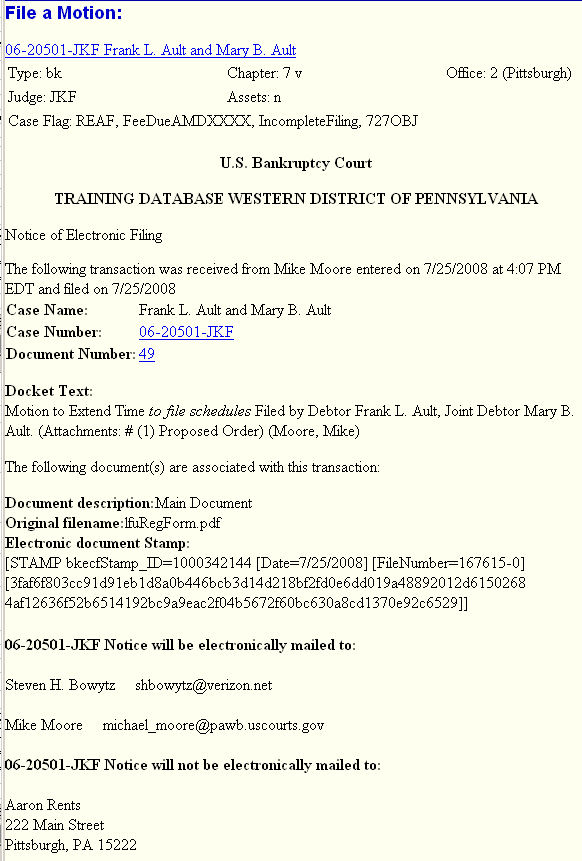
Figure 10.
-
Clicking on the case number hyperlink on the NEF will present the docket report for this case.
-
Clicking on the document number hyperlink will present the PDF image of the petition just filed.
-
Attorney users will be presented with a PACER login screen to access these features.
-
To print a copy of this receipt click the browser [Print] icon.
- The NEF is also accessible as an option from the Docket Report. However, PACER will charge an access fee.
Return to the Topics in Alphabetical Order page.