STEP 1 Click on the Bankruptcy hyperlink on the CM/ECF Main Menu. (See Figure 1.)
![]()
Figure 1
STEP 2 The Bankruptcy Events menu displays. (See Figure 2.)
 Figure 2
- Click on the Miscellaneous hyperlink.
STEP 3 The Case Number prompt screen appears. (See Figure 3.)
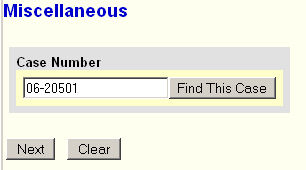 Figure 3
- Enter the case number or accept the displayed one if it is correct..
- Click on the [Next] button to continue.
STEP 4 The Miscellaneous Event Selection screen appears. (See Figure 4.)
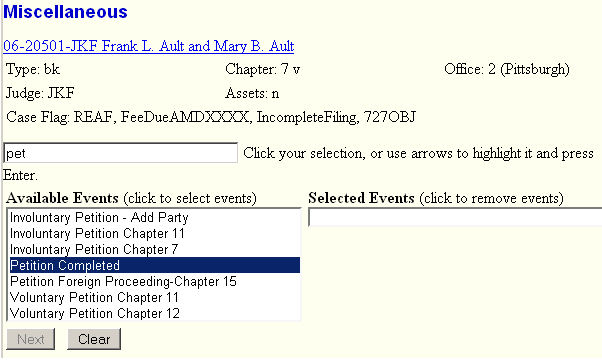
Figure 4
-
As always, first double-check to insure this is the correct case.
- Type “pet” in the event search box.
- Click on the Petition Completed event in the Available Events box.
- Click on the [Next] button to continue.
STEP 5 The Joint Filing screen appears. (See Figure 5.)
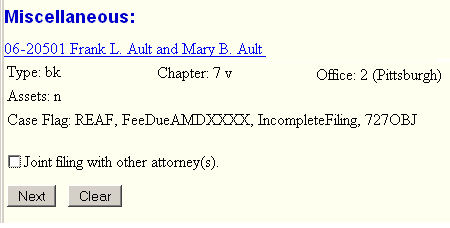 Figure 5
- Check the Joint filing with other attorney(s) box if it is appropriate.
- Click on the [Next] button to continue.
STEP 6 The Select the Party screen is displayed. (See Figure 6.)
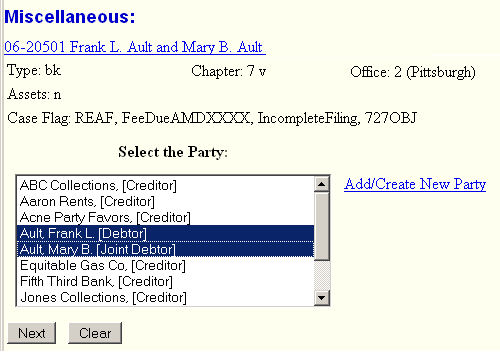
Figure 6
- Select the debtor(s) as the filing party. Use the Ctrl-click method for selecting multiple entries.
Note: The debtor(s) must be in the list. If not, you entered wrong case number!
- Click on the [Next] button to continue.
STEP 7 The Select the pdf screen appears. (See Figure 7.)
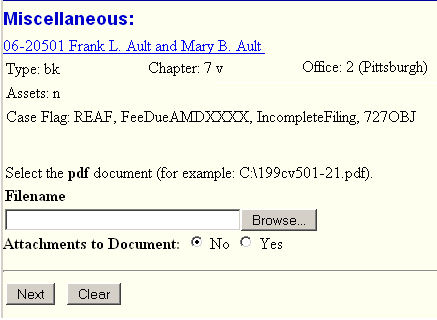 Figure 7
NOTE: You would identify the pdf file containing the last items needed to complete this case.
- See the Browse Process for details on selecting the pdf file to be uploaded.
- After identifying the file, click on the [Next] button to continue.
STEP 8 The Summary of Schedules screen appears. (See Figure 8.)
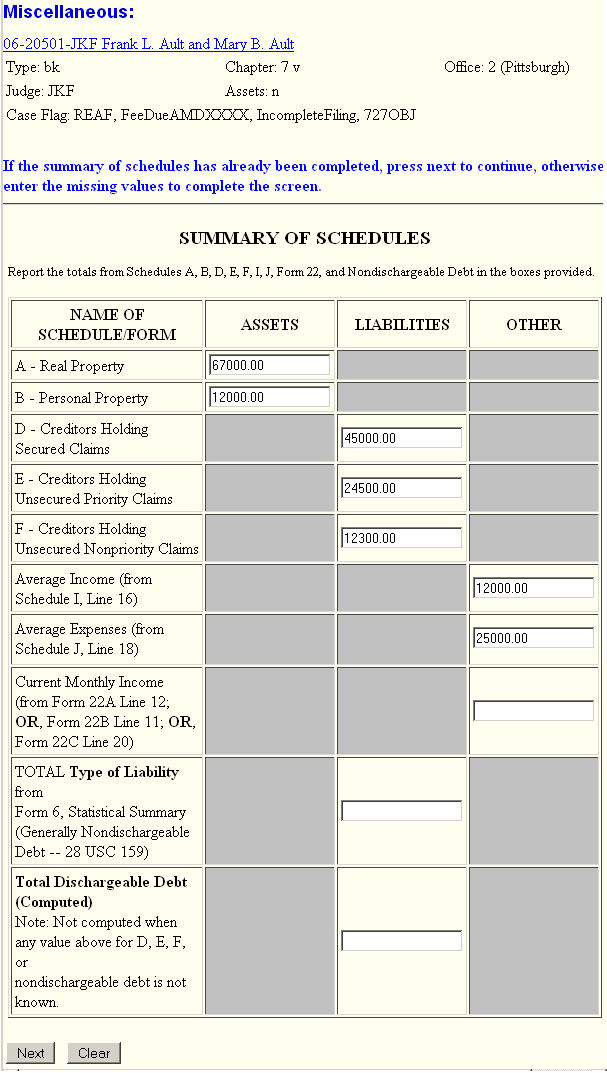
Figure 8
- Since you are declaring the case as complete, all the fields on this screen must be complete even if they only contain zero(es).
-
If a value displayed is incorrect, use the Amended Schedule(s) event(s) under Miscellaneous to correct.
Do not correct on this screen. - Click on the Next button to continue.
STEP 9 The Modify Docket Text screen appears. (See Figure 9.)
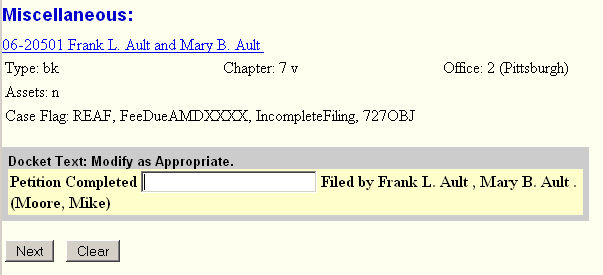
Figure 9
-
Review the docket text. If problems, go back to appropriate previous screen and correct.
- Although it would be acceptable, adding text describing the items uploaded is not necessary.
- Click on the [Next] button to continue.
STEP 10 The Final Docket Text screen appears. (See Figure 10.)
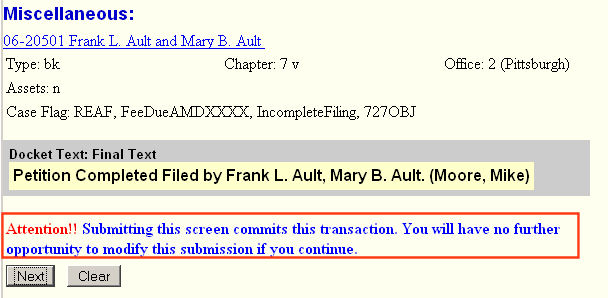
Figure 10
-
If any text is missing or incorrect, go back to previous screen(s) and correct.
- Click on the [Next] button to complete this filing.
STEP 11 The Notice of Electronic Filing appears. (See Figure 11.)
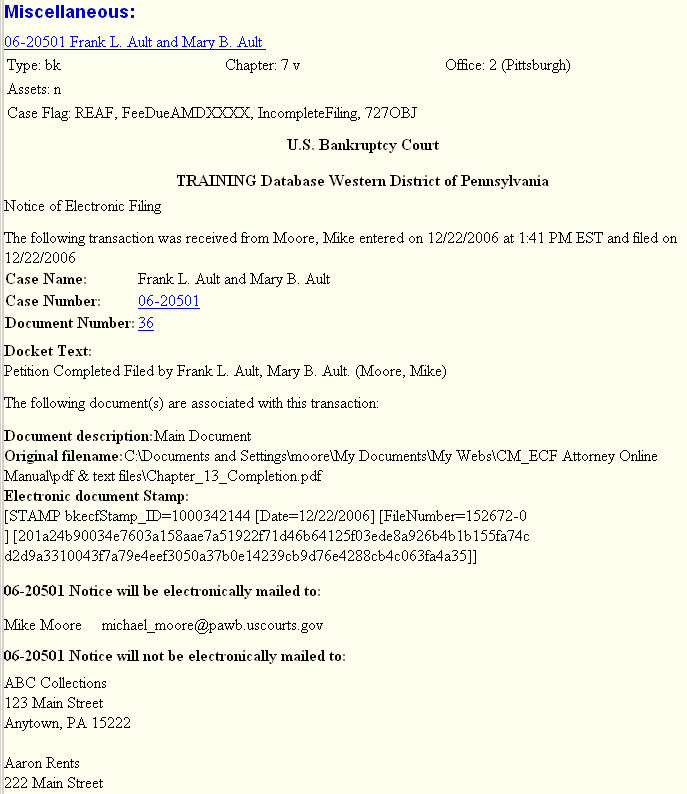
Figure 11
- This screen details the pleading and displays its Document Number which would be used if an subsequent pleading was filed that related to this pleading.
Return to the Topics in Alphabetical Order page.