STEP 1 Click the Bankruptcy hyperlink on the CM/ECF Main Menu. (See Figure 1.)
Figure 1.
STEP 2 Click the Miscellaneous hyperlink on the BANKRUPTCY EVENTS menu. (See Figure 2.)
Figure 2.
STEP 3 The CASE NUMBER screen displays with the last case number used in this CM/ECF session. (See Figure 3.)
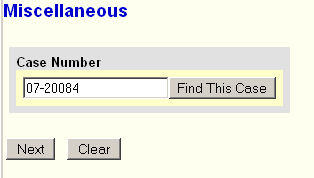
Figure 3.

- If a case number displays and is the correct case, click on the [Next] button to continue.
- Otherwise, enter the correct case number in YY-NNNNN format.
- Click the [Next] button to continue.
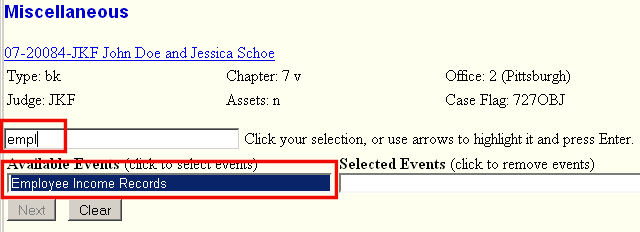
STEP 4 Select Employee Income Records on the EVENT SELECTION screen. (See Figure 4.)
Figure 4.
-
Type "empl" in the event search box to see all events with those characters anywhere
within the event name. - Click on Employee Income Records to get it displayed in the Selected Events box.
- Click the [Next] button to continue.
STEP 5 The attorney JOINT FILING screen may then display.
(See Figure 5.)
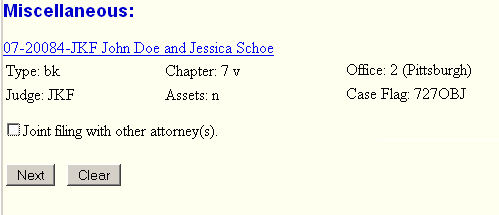
Figure 5.
-
This screen is used only if another attorney is joining in a filing, such as a stipulation.
If you are the trustee or the only attorney filing this application, skip this screen. - Click the [Next] button to continue.
STEP 6 The Select the Party screen displays.
(See Figure 6.)
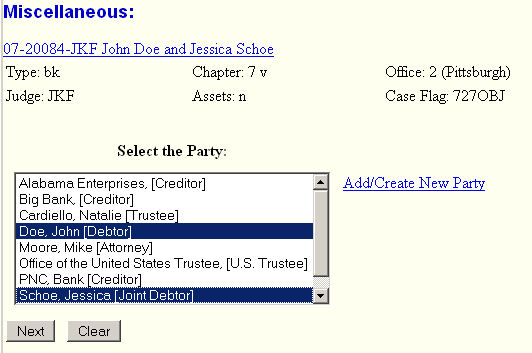
Figure 6.
-
Here you would select the party(s) you represent.
(Since we have the records for both debtors, select both using your Control (Ctrl) key.)
- Click the [Next] button to continue.
STEP 7 The Select the pdf document screen will then display.
(See Figure 7.)
Figure 7.
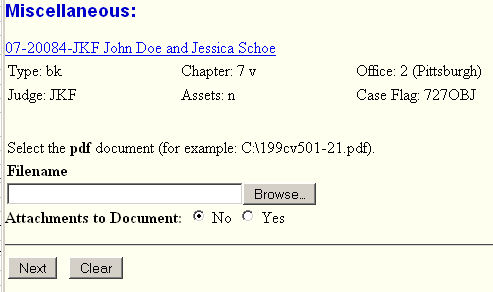
-
Use the Browse button to select the pdf file containing the Income Records.
(See the Browse Process for details.)Note: This is one of the few main documents that must be scanned and thus
not have to be searchable. Normally scanned documents are uploaded as attachments supporting the main document! -
Once you have selected the file and return to this screen,
click the [Next] button to continue.
STEP 8 The Modify Docket Text screen will be displayed.
(See Figure 8.)
Figure 8.
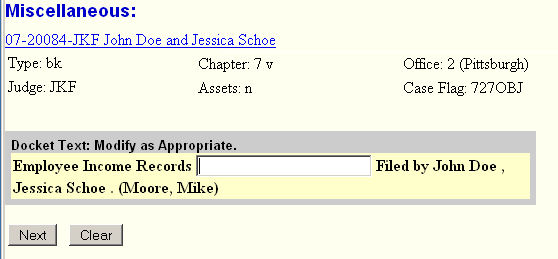
- No enhancement is needed.
- Click the [Next] button to continue.
STEP 9 The Final Docket Text screen is presented.
(See Figure 9.)
Figure 9.
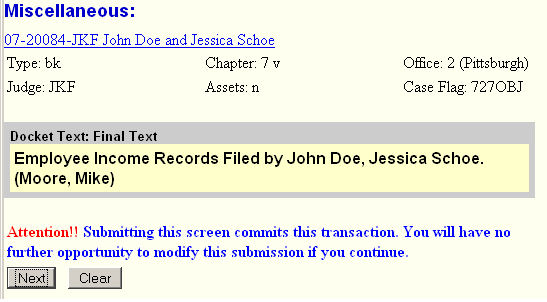
- Final chance to review and return to previous screens for any corrections.
- Click on the Next button to continue.
STEP 10 The Notice of Electronic Filing (NEF) is then displayed.
(See Figure 10.)
Figure 10
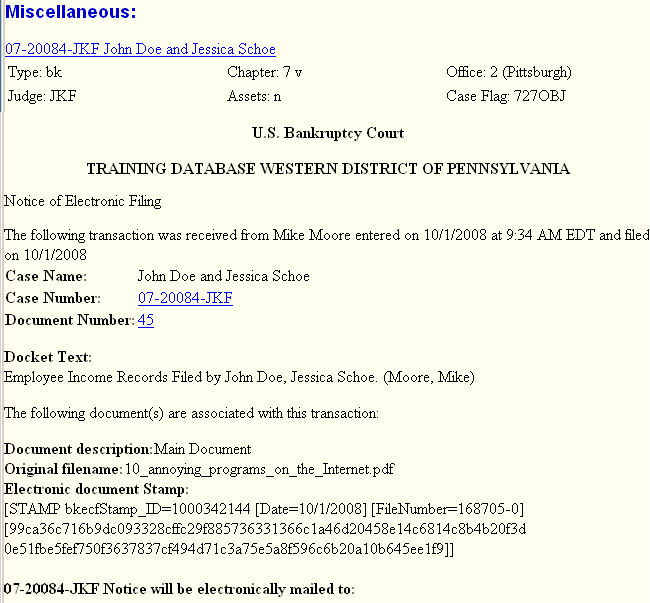
- Clicking on the case number hyperlink on the Notice of Electronic Filing will present the docket report for this case. Attorney users will be presented with a PACER login screen to access these features.
- Clicking on the document number hyperlink will present the PDF image of the application just filed. Attorney users will be presented with a PACER login screen to access these features. One free look at the document is afforded each e-mail participant.
- It is highly recommended that you save a copy of this notification for your records. To print a copy of this notice click the browser [Print] icon.
Return to the Topics in Alphabetical Order page.