STEP 1 After selecting the Transfer of Claim event, the Case Verification screen is displayed. (See Figure 1.)
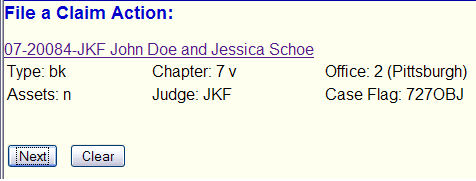
Figure 1
-
Verify that you are in the correct case by checking the case number and case name.
-
If wrong case, use the Browser's BACK button to return to the Case Number prompt screen and enter the correct case number.
- Click on the [Next] button to continue.
STEP 2 The Select any additional attorney(s) screen displays. (See Figure 2.)
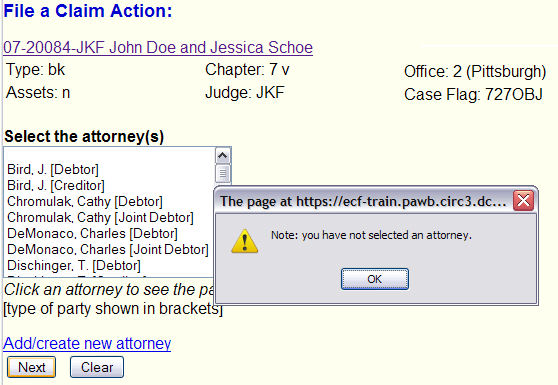
Figure 2.
-
Do not select an additional attorney.
-
Click on the [Next] button to continue. (This will trigger a warning message seen in the figure above.)
- Click on the OK button in the warning box to continue.
STEP 3 The Select the Party screen will display. (See Figure 3.)
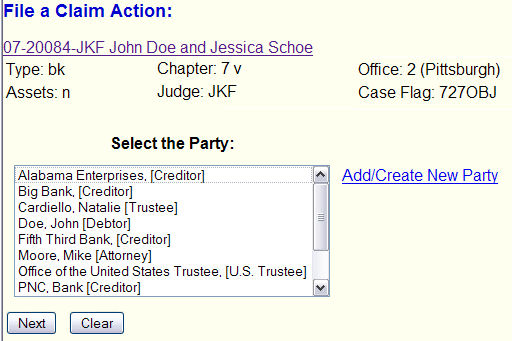
Figure 3.
-
If you have filed a previous pleading in this case as a Limited Filing User, your name would appear in this list and you would select your name.
-
If you had not filed a pleading in this case, add yourself as a party to this case. Once added, you select yourself in the Party List. Click on the Add/Create New Party hyperlink to add yourself as a party to the case.
See the Create New Party Process routine for details.
Note: Your search in the Create New Party Process should find yourself listed in the system database. You are added to this database when your login is issued. If you fail to find yourself, something is wrong and you would need to contact the Court for resolution.
Note: When you complete the Party Information screen in the Create process, select Creditor in the Role field.
- Once your name appears in the Party list, click on the [Next] button to continue.
A special alert message is then displayed. (See Figure 3a.)
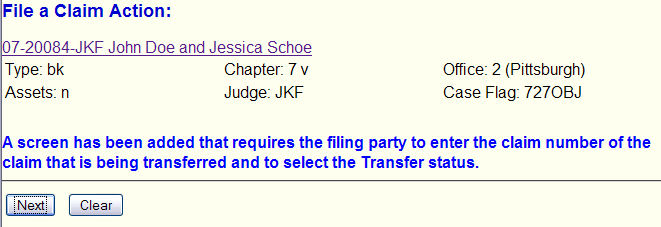
Figure 3a.
The message is self-evident in that it indicates that to transfer a claim, that claim must have been filed and issued a claim number.
- If you do not have a claim number, abort and insure the claim is filed and then come back to transfer it if necessary.
-
If you have a claim number, click on the Next button to continue.
STEP 4 The Is there a claim number for this entry screen will then display. (See Figure 4.)
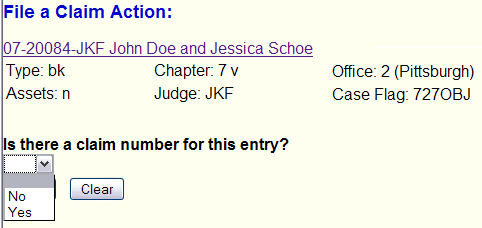
Figure 4.
- If you have a claim number, select Yes.
- Click on the Next button to continue.
-
If you have No claim number and click on No, click on the Next button which generates the following screen: (See Figure 4a.)
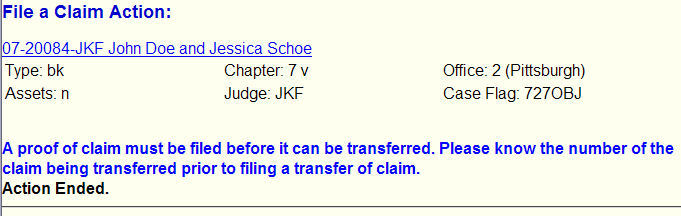
Figure 4a.
-
Your filing is aborted. After the claim has actually been filed, restart process.
- End of module.
STEP 6 The Select the pdf document screen will then display. (See Figure 6.)
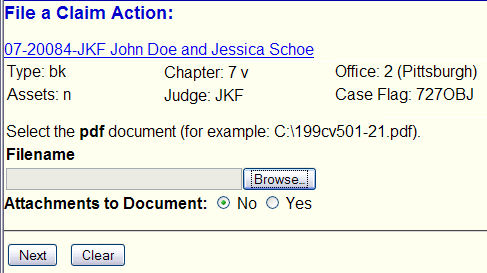
Figure 6.
-
See the Browse Process to identify the pdf file containing your Request for Notice pleading.
-
Click on the Next button to continue.
STEP 7 The Select Claim from Listscreen is displayed. (See Figure 7.)
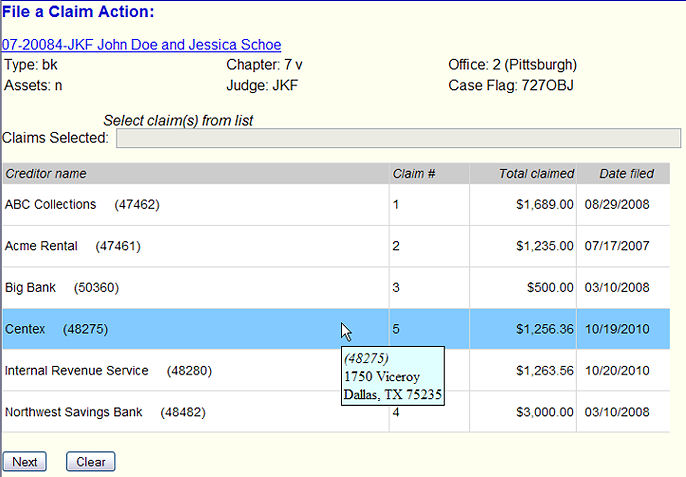
Figure 7.
- The screen lists all claims for you to locate and click on the claim you are transferring.
- If you hover over a claim entry, a pop-up box displays address of creditor.
-
Find your claim on the list and click on it - scroll down if necessary. Note you could select multiple
claims by clicking on each. In this example, it is claim #6.If you accidentally click on the wrong claim, merely click on it again to deselect it and remove
it's number from the Claims Selected box. - Click on the Next button to continue
STEP 8 The Designate Claim Status screen is displayed. (See Figure 8.)
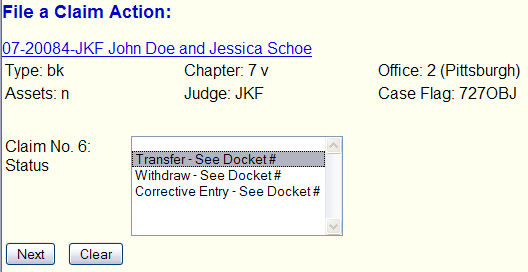
Figure 8.
- Click on the Transfer - See Docket # for this example.
- Click on the Next button to continue.
STEP 9 The Enter Transferee(s) and Transferor(s) screen is displayed. (See Figure 9.)
![]()
Figure 9.
- Click on the appropriate Transfer Type per Bankruptcy Rules,
-
Key-in the transferee and transferor values or use the Search Creditors buttons to search for the transferee and/or transferor to avoid typos.
The transferee must exist on the list of creditors.
Note the multiple transferor entries in case multiple claims are being transferred to the same party.
If the transferee is not yet on the creditor list for this case, use the Add New Creditors button to add them.
See the Add new creditor name and address screen below: (Figure 9a.)
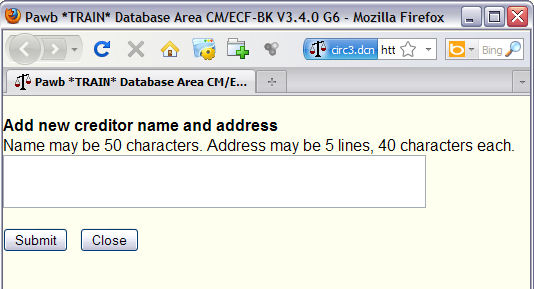
Figure 9a -
After identifying the transferee and transferor(s), click on the Next button to continue.
STEP 10 The Modify Docket Text screen is displayed. (See Figure 10.)
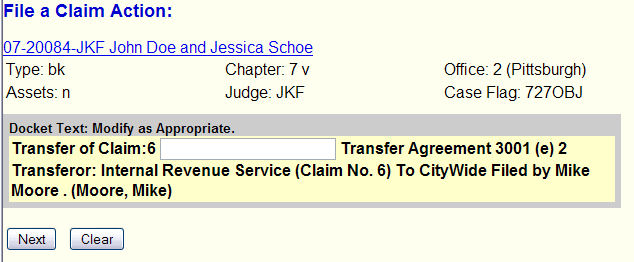
Figure 10.
-
Verify the creditor names and claim amount. Return to previous screen(s) to make any corrections.
-
Click on the Next button to continue.
STEP 11 The Final Docket Text screen is displayed. (See Figure 11.)
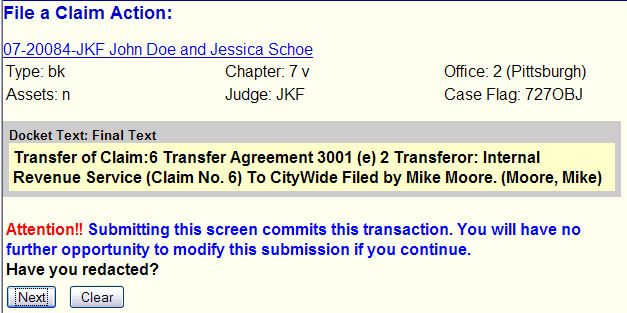
Figure 11.
- Verify the docket entry. Return to previous screen(s) to correct any errors.
-
Note the Have you redacted? reminder.
- Click on the Next button to upload the pdf file containing the Transfer.
STEP 12 The Notice of Electronic Filing is displayed. (See Figure 12.)
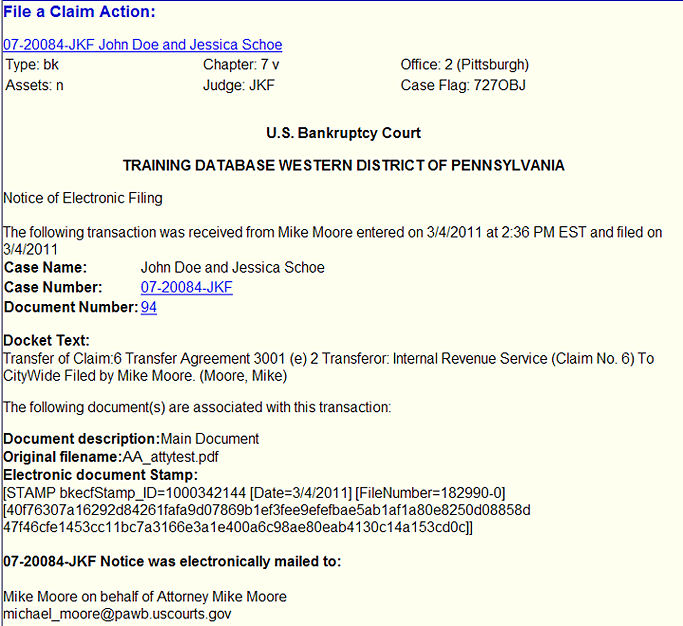
Figure 12.
-
The screen verifies that the Transfer of Claim has been uploaded and filed.
-
To print a copy of this notice, click the browser [Print] button or icon.
- To save a copy of this receipt, click [File] on the browser menu bar and select Save Frame As.
Return to the Topics in Alphabetical Order page.