This lesson shows displays submitting an Application to Avoid Lien. The same process can be applied to filing other motions or application.
STEP 1 Click on the Bankruptcy hyperlink on the CM/ECF Main Menu. (See Figure 1.)
![]()
Figure 1
STEP 2 The Bankruptcy Events screen displays. (See Figure 2.)
Figure 2
- Click on the Motions/Applications hyperlink.
STEP 3 The Case Number prompt screen displays. (See Figure 3.)
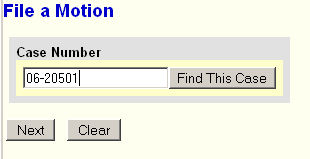
Figure 3
-
If a case number displays, verify that it is the correct number.
- If no case number displays, enter the case number in YY-NNNNN format.
- Click the [Next] button to continue.
STEP 4 The Event Selection screen displays. (See Figure 4.)

Figure 4
-
Type the letters "av" into the text search box - thus narrowing the events displayed in the Available Events box.
- Click on the Avoid Lien entry to get it displayed in the Selected Events box.
- Click on the [Next] button to continue.
STEP 5 The Joint Filing screen will then display. (See Figure 5.)
Figure 5
- If this is a joint filing and the box is checked, a listing of attorneys presently on the case will be presented for selection.
- For this example, leave box unchecked.
- Click on the [Next] button to continue.
STEP 6 The Select the Party screen will be presented listing all the participants presently on this case.
(See Figure 6.)
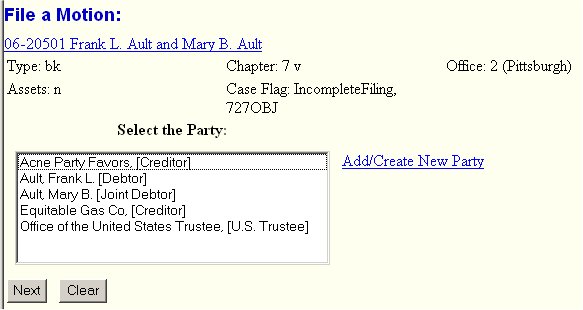
Figure 6
- Locate and select the debtor(s) as the parties you represent.
- Notice that even if the creditor is on the list, that is not the party you represent.
- Click on the [Next] button to continue.
STEP 7 The Select the pdf Document screen displays. (See Figure 7.)
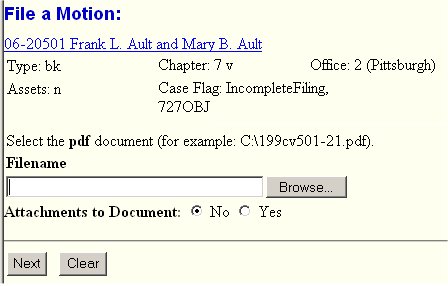
Figure 7
- See the Browse Process to identify the pdf containing your Avoid Lien motion.
-
Change the Attachments to Document to "Yes" and ID the Proposed Order.
(see the Attachment Process for details.)
- Click on the [Next] button to continue.
STEP 8 The prompt for creditor name screen. (See Figure 8.)
Figure 8
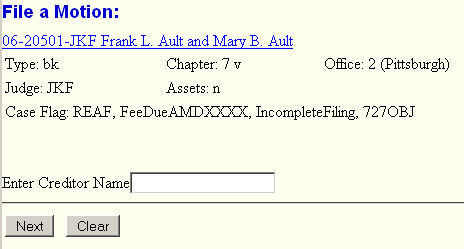
- Type in the creditor's name.
- Click the [Next] button to continue.
STEP 9 The Modify Docket Text screen displays next.. (See Figure 9.)
Figure 9
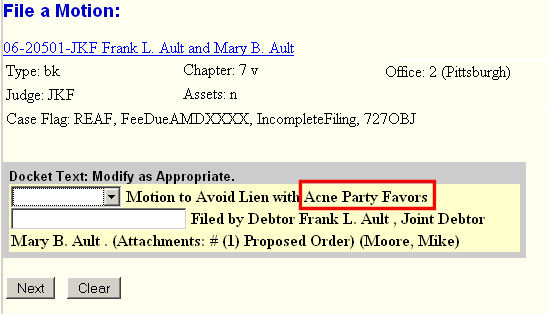
- The creditor's name now appears in the docket text.
- Click the down arrow to display the prefix options and select one if it is appropriate.
- Click on the [Next] button to continue.
STEP 10 The Final Docket Text screen will appear. (See Figure 10.)
Figure 10
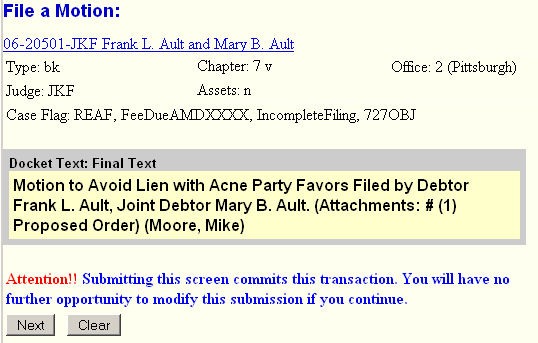
- Verify the final docket text.
- If the final docket text is incorrect, go back to previous screen(s) and make corrections.
- Click on the [Next] button to continue.
STEP 11 The Notice of Electronic Filing (NEF) screen displays. (See Figure 11.)
Figure 11
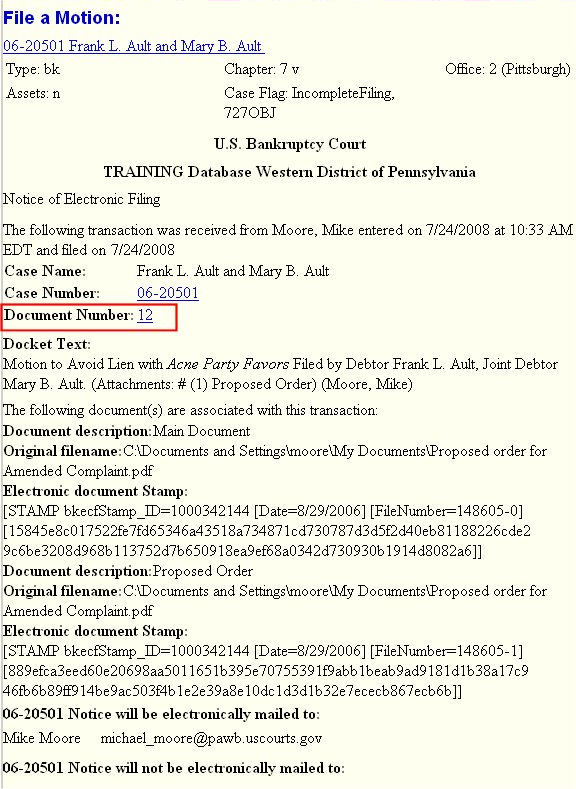
- Clicking on the case number hyperlink on the NEF will present the docket report for this case.
- Clicking on the document number hyperlink will present the PDF image of the application just filed.
- You must enter your PACER login and password to view any documents or reports or perform any queries.
Return to the Topics in Alphabetical Order page.